
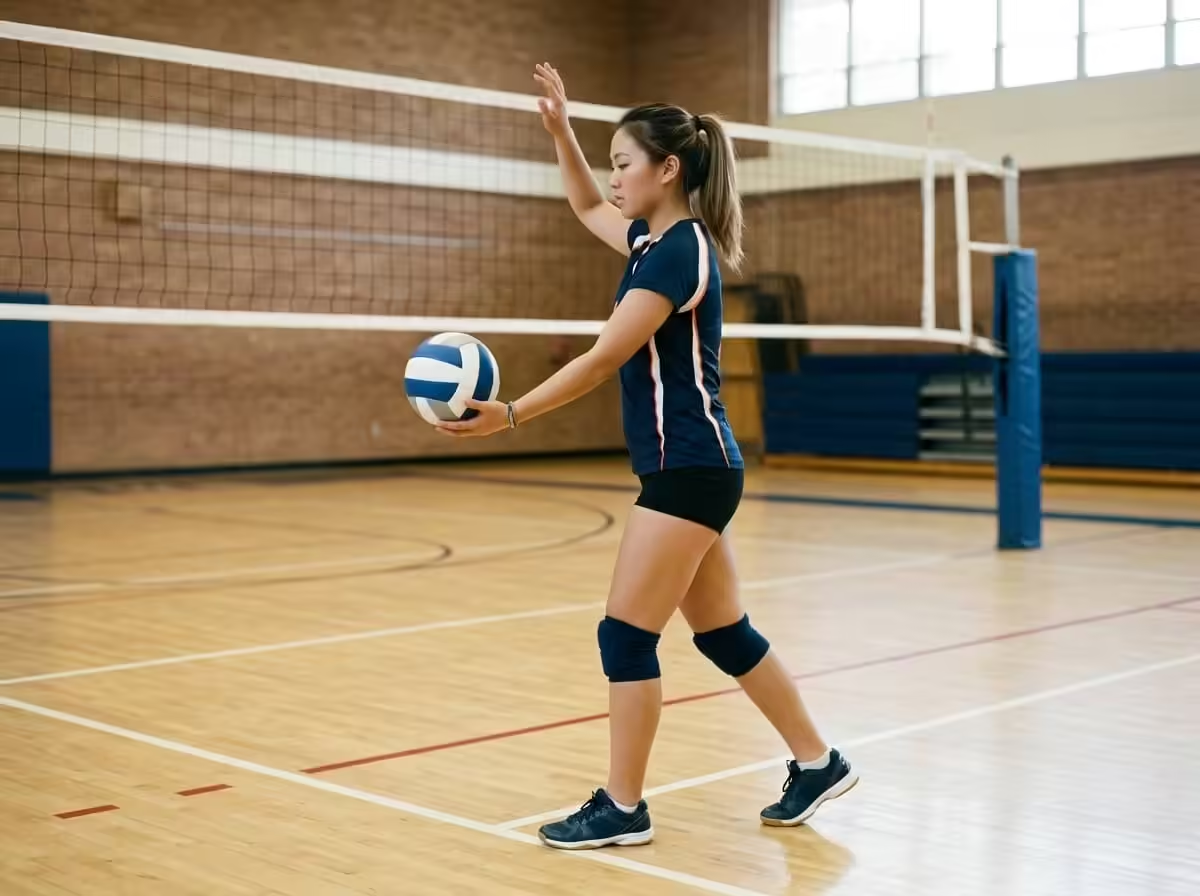
Learn 10 volleyball serving drills for beginners to improve accuracy, power, and consistency with easy exercises, practice tips, and a 15-minute routine.
Serving is one of the first volleyball skills every beginner should learn. A good serve starts each rally and gives your team an opportunity to score a point. However, learning to serve consistently can take time, especially when you are still developing your coordination, ball control, and technique.
These volleyball serving drills for beginners will help you develop a consistent serving technique, improve ball control, and learn to aim at different areas of the court.
The good news is that you do not need to hit the ball as hard as possible to become a better server. With the right volleyball serving drills for beginners, you can learn to control the ball, aim for specific areas of the court, and build confidence with every practice session.
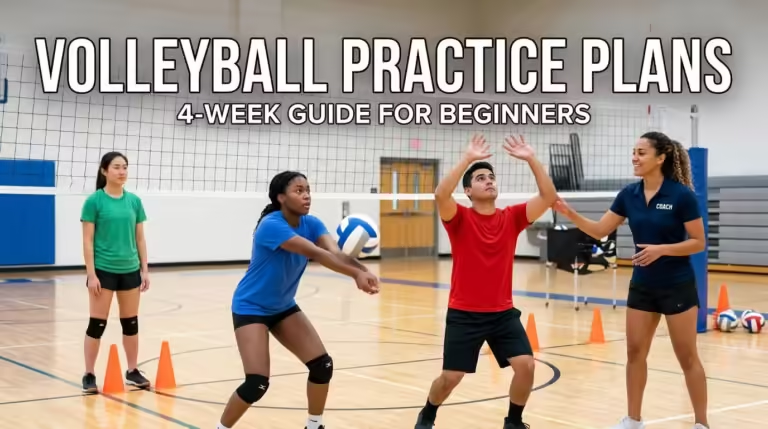
In this guide, you will learn 10 easy serving exercises, understand the difference between underhand and overhand serving, discover common mistakes to avoid, and follow a simple 15-minute practice routine. These drills are suitable for school students, recreational players, and anyone learning volleyball for the first time. You Can Learn Volleyball Practice Plans for Beginners: 4-Week Guide
Why Are Serving Drills Important for Beginners?
Serving drills help new players develop the basic skills needed to start rallies reliably and put pressure on the opposing team.
Here are the main benefits of regular serving practice:
- Better accuracy: Learn to direct the ball toward a chosen area instead of hitting it randomly.
- More consistent contact: Practice striking the ball with the same part of your hand.
- Improved confidence: Repeating a manageable movement makes serving feel more comfortable.
- Better ball control: Develop a reliable toss, contact point, and follow-through.
- Gradual power development: Improve the coordination needed to serve with greater force without sacrificing control.
- Fewer serving errors: Build the ability to clear the net and land the ball inside the court.
For beginners, consistency should come before power. A controlled serve that lands in the court is more useful than a powerful serve that repeatedly goes out of bounds.
Learn the Basics Before Practicing Volleyball Serves
Before starting your volleyball serving practice for beginners, learn the basic movements. Good technique makes the drills easier to perform and helps you identify what needs improvement.
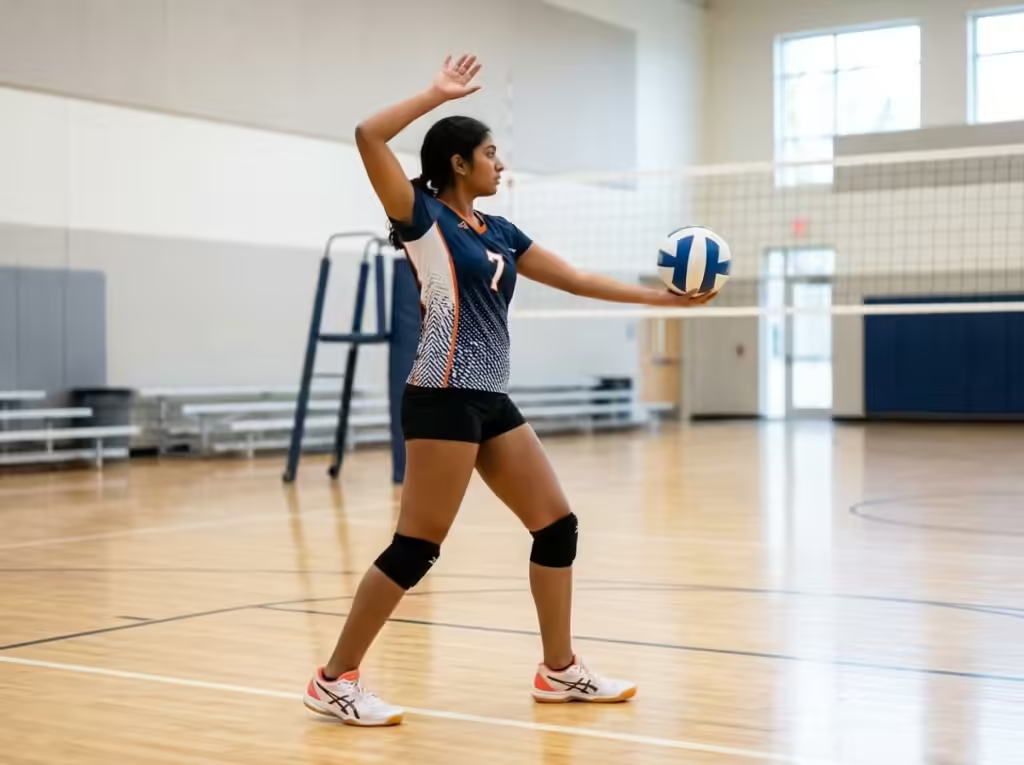
1. Use a balanced serving stance
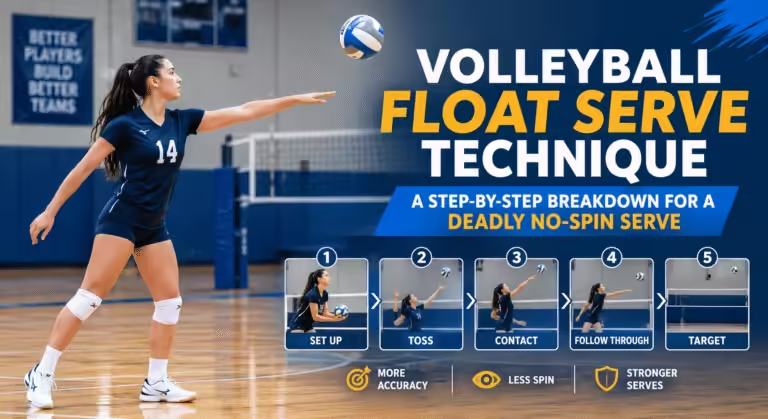
Stand behind the end line, which marks the back boundary of the court. Keep your feet comfortably apart and your knees slightly bent.
For an underhand serve, if you are right-handed, place your left foot slightly forward. Reverse the position if you are left-handed. For an overhand serve, use a comfortable staggered stance that allows you to shift your weight forward.

2. Hold the volleyball comfortably
For an underhand serve, hold the ball in your non-hitting hand around waist height. Keep it steady and in front of your body.
For an overhand serve, hold the ball in front of your hitting shoulder or slightly in front of your body, depending on your technique.
3. Practice a consistent toss
For an underhand serve, you can release the ball gently or hold it steady as you begin your swing, depending on the technique you are learning.
For an overhand serve, toss the ball slightly above your hitting reach and in front of your hitting shoulder. Avoid tossing it too high or too far behind you.
4. Contact the ball correctly
For an underhand serve, swing your hitting arm forward and strike the lower-middle portion of the ball with a firm hand or closed fist, depending on your chosen technique.
For an overhand serve, contact the back of the ball with a firm, open hand. Keep your wrist firm enough to direct the ball and avoid an uncontrolled, slapping motion.
5. Aim for a clear target
Choose a visible spot on the opposite court before serving. You might aim for the middle, a back corner, or an open space.
6. Avoid common beginner mistakes
Do not rush your movements, throw the ball too far away from your body, or focus on hitting hard before you can control its direction. Keep your balance and follow through toward your intended target.
Safety tip: Warm up your shoulders and arms, use a properly inflated volleyball, and make sure you have enough space to serve safely. Stop if you experience pain.
Start with these volleyball serving drills for beginners at a comfortable distance. Focus on accuracy and proper contact before increasing your serving power or moving to the back line.
10 Volleyball Serving Drills for Beginners
These volleyball serving drills for beginners progress from simple ball-control exercises to full-court serving practice. Start with a short distance if you struggle to get the ball over the net, then gradually move farther back as your technique improves.
You do not need to complete all 10 drills in one session. Choose three or four exercises that match your current skill level and focus on making each repetition controlled.
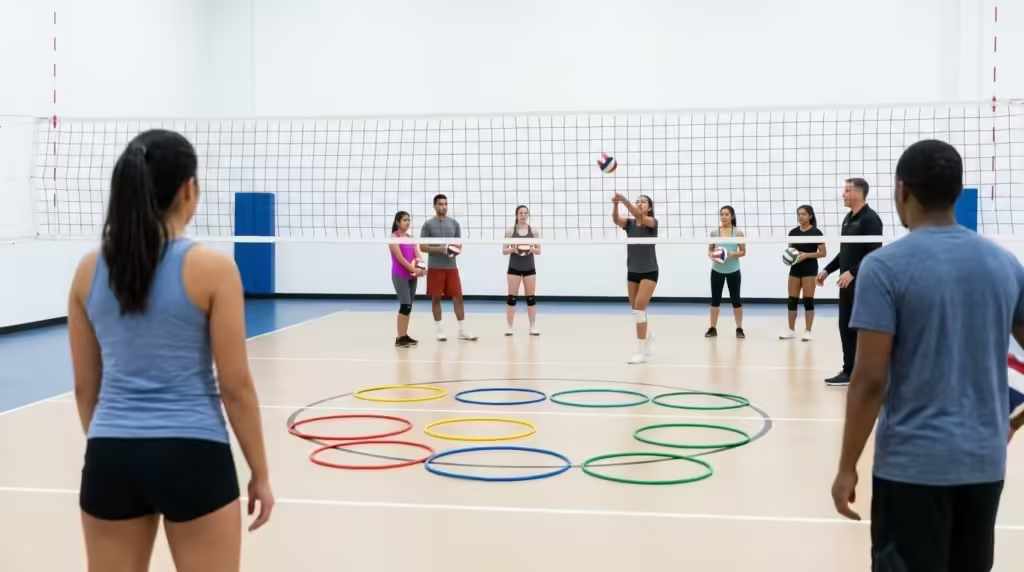
1. Wall Serving Practice
Purpose: Improve hand contact and directional control.
Equipment: Volleyball and a clear, sturdy wall.
How to do it:
- Stand a few feet from the wall, leaving enough space for a safe rebound.
- Hold the ball in front of your body.
- Practice the arm swing for an underhand serve without the ball.
- Gently strike the ball toward a marked spot on the wall.
- Reset your stance and repeat, focusing on consistent contact.
Repetitions: 10–15 controlled contacts, followed by a short rest.
How it helps: You can practice your swing and contact without needing a court or partner.
Coaching tip: Aim for the same spot each time rather than hitting the ball as hard as possible.
Make it harder: Move farther away or alternate between two marked targets. If the ball rebounds unpredictably, switch to shadow swings or gentle toss-and-catch practice.
2. Underhand Serving Technique Drill
Purpose: Learn the basic underhand serving movement.
Equipment: Volleyball and an open practice area.
How to do it:
- Stand with your non-hitting foot slightly forward.
- Hold the ball at waist height in your non-hitting hand.
- Draw your hitting arm back comfortably.
- Swing forward while releasing or gently lowering the ball.
- Contact the ball with a firm hand or closed fist, then follow through toward your target.
Repetitions: Complete 8–12 controlled serves or serving motions.
How it helps: This drill builds coordination between your stance, arm swing, and contact.
Coaching tip: Think “steady ball, smooth swing, balanced finish.”
Make it harder: Serve toward a small target area instead of simply sending the ball forward.
3. Short-Distance Serving Drill
Purpose: Build confidence before serving from the end line.
Equipment: Volleyball, net, and floor markers if available.
How to do it:
- Begin several feet inside the regular service line.
- Face your target and establish a balanced stance.
- Perform your preferred serve with controlled force.
- Aim to send the ball over the net and into the opposite court.
- Move backward gradually after you can serve successfully from your current position.
Repetitions: 10 serves, with a brief rest if your arm becomes tired.
How it helps: A shorter distance makes it easier to focus on technique instead of power.
Coaching tip: Do not move backward until you can repeat the movement with reasonable consistency.
Make it harder: Increase your serving distance by a small amount while keeping the same controlled technique.
Regularly practicing volleyball serving drills for beginners can help you identify mistakes, improve your consistency, and become more confident when serving in a match.
4. Overhand Toss and Contact Drill
Purpose: Develop a consistent toss and clean overhand contact.
Equipment: Volleyball and an open area.
How to do it:
- Stand with your feet staggered and your body balanced.
- Hold the ball in your non-hitting hand.
- Toss it slightly upward and in front of your hitting shoulder.
- Practice reaching toward the ball with your hitting hand.
- Strike the ball gently into a safe, open area if space permits, or catch it and reset.
Repetitions: Perform 8–10 tosses, then 5–8 controlled contact attempts.
How it helps: You learn to coordinate the toss and hitting arm before adding the challenge of clearing the net.
Coaching tip: A repeatable, moderate-height toss is easier to control than a very high one.
Make it harder: Add a gentle overhand serve toward a large target area. If your toss is inconsistent, return to toss-and-catch practice.
5. Serve Over the Net Drill
Purpose: Learn to clear the net and land the ball inside the court.
Equipment: Volleyball and net.
How to do it:
- Start at a comfortable distance from the net.
- Choose either an underhand or overhand serve.
- Focus on clean contact and a controlled trajectory.
- Observe whether the ball clears the net and lands in bounds.
- Repeat the serve, changing only one part of your technique at a time.
Repetitions: Attempt 10 serves.
How it helps: You connect your serving technique with the actual goal of getting the ball into play.
Coaching tip: If the ball repeatedly hits the net, shorten the distance and work on contact and trajectory.
Make it harder: Move toward the official service area and complete a set of successful serves from there.
6. Target Serving Accuracy Drill
Purpose: Improve your ability to direct the ball.
Equipment: Volleyball and flat floor markers or cones.
How to do it:
- Place two or three markers in safe areas of the opposite court.
- Choose one target before each serve.
- Use your normal serving technique to aim toward that area.
- Record whether the ball lands inside the target zone.
- Move to another target after several attempts.
Repetitions: Complete 12 serves, dividing them among your targets.
How it helps: This is one of the most useful volleyball serving accuracy drills because it gives every serve a specific purpose.
Coaching tip: Aim for a broad zone first. Precision will become easier as your control improves.
Make it harder: Reduce the size of the target zone or require two successful serves out of three attempts.
7. Deep-Court Serving Drill
Purpose: Learn to serve toward the back of the opponent’s court.
Equipment: Volleyball, net, and court markings.
How to do it:
- Choose a target near the back boundary, leaving a comfortable margin.
- Start with your normal serving stance.
- Aim to send the ball deep without forcing an excessively powerful swing.
- Observe where the ball lands.
- Adjust your contact and trajectory slightly on the next attempt.
Repetitions: Try 8–10 serves.
How it helps: You learn to control serving distance and develop a more purposeful serve.
Coaching tip: A deep serve needs enough height to clear the net but should not be hit so high that you lose directional control.
Make it harder: Alternate between a deep target and a middle-court target.
8. Left, Center, and Right Target Drill
Purpose: Develop directional control.
Equipment: Volleyball and three floor markers.
How to do it:
- Mark three broad target zones: left, center, and right.
- Start with the center target to establish control.
- Serve toward the left zone, then the right zone.
- Alternate targets instead of repeating the same direction.
- Record which target is easiest to reach.
Repetitions: Complete 9 serves, with three attempts per target.
How it helps: You learn to change serving direction while maintaining your basic technique.
Coaching tip: Choose the target before you begin your serving motion.
Make it harder: Call out targets in a random order or ask a partner to select your next target.
9. Consecutive Successful Serves Challenge
Purpose: Build consistency under a simple performance goal.
Equipment: Volleyball, net, and a score sheet.
How to do it:
- Start from a distance where you can serve with reasonable control.
- Define success as clearing the net and landing in bounds.
- Serve one ball at a time and record each successful attempt.
- Try to complete three successful serves in a row.
- If a serve misses, restart the streak without treating it as a failure.
Repetitions: Practice for 5–8 minutes, taking breaks as needed.
How it helps: You learn to repeat a reliable serving motion instead of relying on occasional good hits.
Coaching tip: Focus on your routine and technique rather than worrying about the score.
Make it harder: Aim for five consecutive successful serves, then add a target zone.
10. Full-Court Serving Practice
Purpose: Apply your skills from the regular service area.
Equipment: Volleyball and a regulation-height net appropriate to your playing category.
How to do it:
- Stand behind the end line.
- Select a large target area in the opposite court.
- Use your best controlled underhand or overhand serve.
- Watch the landing point and record the result.
- Repeat while keeping your stance, contact, and follow-through consistent.
Repetitions: Complete 8–12 serves with short rests.
How it helps: It prepares you to use your serving skills in normal volleyball practice and matches.
Coaching tip: If you cannot serve in bounds consistently, move closer during training and build back toward the end line.
Make it harder: Alternate between left, center, and right targets while maintaining a high level of control.
Underhand vs. Overhand Serving for Beginners
Both underhand and overhand serves can start a volleyball rally. The main differences are the arm movement, contact position, and coordination required.
| Feature | Underhand serve | Overhand serve |
|---|---|---|
| Starting position | Ball held around waist height | Ball tossed in front of the hitting shoulder |
| Arm movement | Smooth forward swing from below | Arm swings forward from above the shoulder |
| Learning difficulty | Generally easier for beginners | Requires more timing and coordination |
| Power potential | Usually lower | Can produce greater pace |
| Main practice focus | Contact and getting the ball over the net | Consistent toss, contact, and follow-through |
Which serve should you learn first?
If you are completely new to volleyball, start with the underhand serve. It allows you to focus on the basics without coordinating a high toss and overhead swing.
Once you can send the ball over the net and into the court consistently, introduce the overhand serve. Practice the toss and contact separately before trying full serves.
There is no need to rush into jump serving. First develop a reliable standing serve, then progress as your control, coordination, and strength allow.
A Simple 15-Minute Volleyball Serving Practice Routine
You do not need a long training session to work on your serve. This 15-minute volleyball serving practice routine gives you time to warm up, practice technique, and measure your progress.
Minutes 0–2: Warm-up
Move your shoulders, wrists, and arms gently. Add light movement and a few relaxed practice swings.
2 min
Minutes 2–5: Stance and ball control
Practice your serving stance, ball hold, gentle toss, and arm swing. Complete several slow repetitions.
3 min
Minutes 5–9: Serving technique
Practice underhand serves or overhand toss-and-contact drills. Concentrate on consistent contact.
4 min
Minutes 9–13: Target practice
Choose a target and practice serving toward it. Count successful serves and observe where misses land.
4 min
Minutes 13–15: Track your progress
Record attempts, successful serves, and one technique to improve next time.
2 min
As you improve, replace some technique repetitions with full-court serves and smaller target zones. If you are still learning, spend more time on ball control and shorten the serving distance.
Common Volleyball Serving Mistakes and How to Fix Them
Even simple serves can go wrong when your movements are inconsistent. Use this table to identify the problem and make one adjustment at a time.
| Common mistake | How to fix it |
|---|---|
| Inconsistent toss | Practice tossing and catching at the same height and in front of your body. |
| Incorrect hand contact | Keep your hand firm and strike the ball with the intended contact area. |
| Poor balance | Use a comfortable stance and finish facing your target. |
| No clear target | Choose a specific area before every serve. |
| Trying to hit too hard | Reduce your swing force until you can control the ball’s direction. |
| Stopping the arm too early | Follow through naturally toward the target. |
| Ball repeatedly hits the net | Move closer during practice and work on contact and trajectory. |
| Serves frequently go out | Aim farther inside the court and reduce excessive force. |
A useful habit is to change only one thing after a missed serve. For example, if the ball goes into the net, focus on your contact and trajectory during the next attempt instead of changing your stance, toss, and swing all at once.
Tips to Improve Serving Accuracy and Power
Once you understand the basic technique, these habits can make your serving sessions more productive.
- Repeat the same routine. Stand comfortably, choose a target, prepare the ball, and serve. A repeatable routine helps you approach each attempt consistently.
- Prioritize contact. Focus on striking the ball cleanly before increasing the speed of your swing.
- Aim before you serve. Pick a target rather than deciding where to send the ball halfway through the movement.
- Increase difficulty gradually. Move farther back or use smaller targets only when you can manage the current level.
- Record your results. Write down how many serves land in bounds and how many reach your target area.
- Take breaks. If your shoulder or arm becomes tired, rest rather than forcing additional repetitions.
- Practice both placement and distance. Accuracy and power are different skills, so work on each separately before combining them.
USA Volleyball’s serving guidance also emphasizes consistent contact, a reliable toss, and choosing a target before serving.
Volleyball Serving Equipment for Beginners
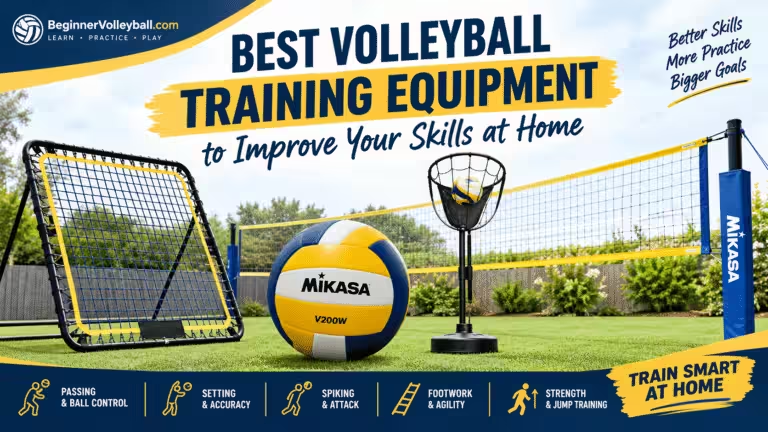
You can practice serving with very little equipment. Start with the essentials and add training aids only when they solve a specific problem.

1. A suitable volleyball
Choose a ball appropriate for your age, playing environment, and skill level. Check that it is inflated according to the manufacturer’s recommendations.

2. Cones or flat floor markers
Use them to identify target zones. Flat markers are preferable in areas where raised cones could create a tripping hazard.

3. A practice net
A net lets you work on real serving trajectories. If you do not have access to a volleyball court, begin with controlled contact practice in a safe, open area.

4. A practice log
A notebook or simple phone note can track attempts, successful serves, target accuracy, and your next practice goal.
You do not need expensive serving machines or specialized equipment to begin. A ball, a safe space, and a clear practice goal are enough for most beginner exercises.
Frequently Asked Questions
What is the easiest volleyball serve for beginners?
The underhand serve is generally the easiest starting point for beginners because it uses a simpler arm movement and does not require an overhead toss. Begin with short-distance practice and gradually move toward the end line.
How many times should a beginner practice serving?
Start with two or three focused sessions per week if that fits your schedule and recovery. Short, consistent sessions are often easier to maintain than occasional exhausting workouts. Adjust the frequency to your age, fitness, and comfort.
How can I improve my volleyball serving accuracy?
Choose a clear target before each serve, maintain a consistent stance, and focus on clean contact. Use target-serving drills and record how many attempts land in the intended area.
Can I practice volleyball serves alone?
Yes. You can practice alone using a wall, an open court, or a volleyball net. Wall drills are useful for controlled contact, while a court allows you to evaluate serving distance and accuracy. Always ensure the space is safe.
How many serves should I practice each day?
A reasonable starting point is around 20–30 controlled serving attempts in a session, adjusted to your ability and available time. Beginners may need fewer attempts with more breaks, especially when learning overhand technique. Quality matters more than completing a fixed number.
When should I learn the overhand serve?
Start learning it when you are comfortable with your basic serving stance and ball control. You do not need to master every underhand variation first, but you should be able to practice overhead contact without pain and maintain reasonable control.
Why do my volleyball serves keep going into the net?
Common causes include contacting the ball too low, swinging without enough forward direction, or using a trajectory that is too flat. Move closer to the net, practice controlled contact, and gradually increase your distance as you become more consistent.
Conclusion
Practicing volleyball serving drills for beginners is a simple way to develop better technique, improve serving accuracy, and build confidence on the court.
Start with the underhand serve if you are new to volleyball. Practice your stance and contact, progress to serving over the net, and use target drills to learn directional control. Track your results and increase the difficulty only when you feel comfortable with the current exercise.
Most importantly, focus on progress rather than perfection. Every controlled repetition is an opportunity to learn.
Ready to improve your serve? Choose two drills from this guide, set a simple goal for your next session, and start practicing today. Visit BeginnerVolleyball.com for more volleyball training tips, beginner-friendly drills, and practical advice to help you play with confidence.


Great set of drills! Starting close to the net and moving back as the serves get consistent is such a confidence builder for beginners.