Master the fundamentals fast with these 10 volleyball drills for beginners. Includes step-by-step coaching cues, progressions, and a free practice plan for new players.
Why These 10 Volleyball Drills for Beginners Work
Beginner teams improve fastest when practice is organized, reps are purposeful, and the game is simplified without being “dumbed down.” The volleyball drills for beginners below are selected to build the three skills that keep rallies alive: serving in, first contact control, and simple setting solutions. Each drill includes a clear setup, coaching cues, and a “make it harder” progression so you can scale difficulty as players gain control.
Coach’s Note: Run drills in 10–15 second bursts. Demonstrate once, then let players get reps while you fix one thing at a time.
1. Wall Passing (Solo Platform Control)
Skill Focus: Platform control and ball tracking.
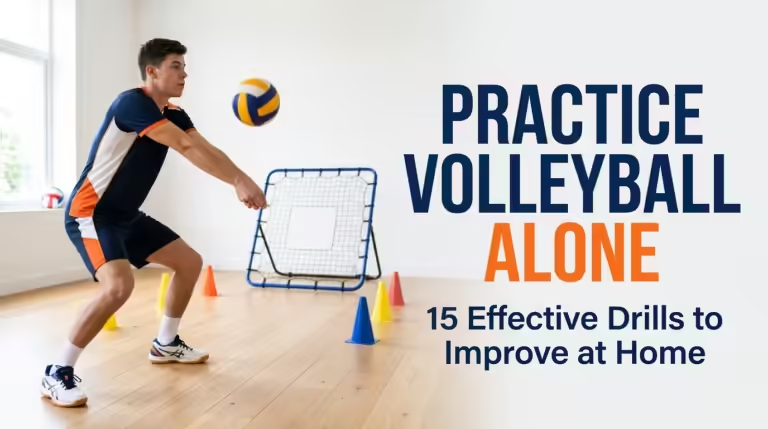
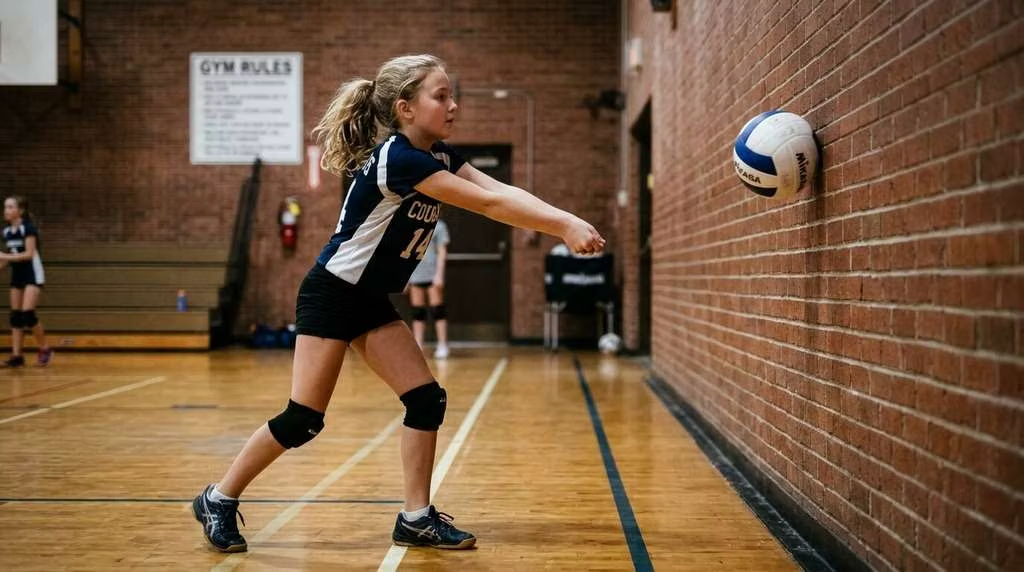
Setup: Each player needs a ball and a flat wall. Stand 5–6 feet from the wall.
How to Do It: Self-toss the ball, pass it into the wall with a flat platform, catch the rebound, and repeat.
Coaching Cues:
- “Bend your knees and get under the ball”.
- Keep the platform “quiet” and angle it toward the target.
- Watch the ball contact the meaty part of your forearms.
Progression: Instead of catching, pass the rebound continuously for 30 seconds. Then alternate one pass to the wall, one set to yourself.
2. Partner Toss-and-Pass (First Contact Control)
Skill Focus: First contact control and movement to the ball.
Setup: Pairs with one ball. Partners stand 10–12 feet apart.
How to Do It: Partner A tosses the ball softly to Partner B. Partner B passes it back to Partner A’s hands (or a target zone). After 10 reps, switch roles.
Coaching Cues:
- “Plant your feet before contact”.
- “Shuffle, don’t cross your feet.”
- Aim to pass the ball high enough that your partner can catch it without moving.
Progression: Make the toss harder (lower, faster, or to the side) to force movement. Then remove the catch and rally back and forth using only forearm passes.
3. The Pepper Drill (Classic Ball Control)
Skill Focus: Ball control, serve-receive technique, and reaction time.
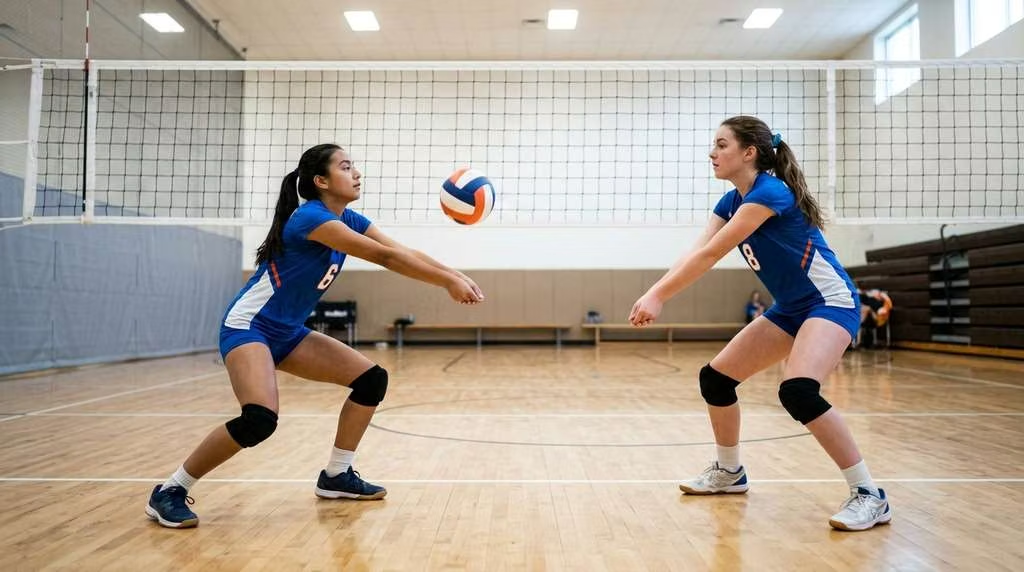
Setup: Pairs with one ball, about 6–8 feet apart.
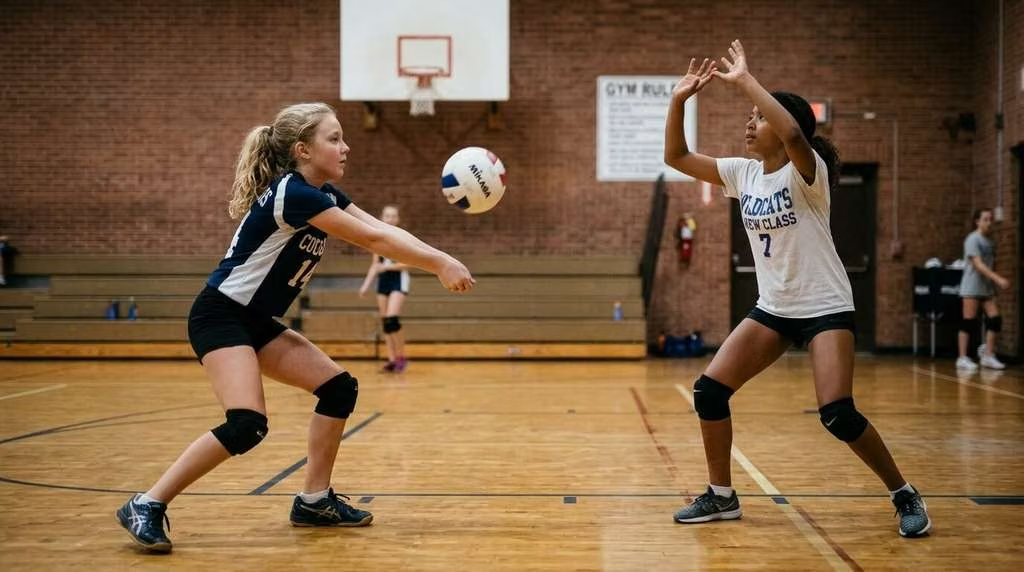
How to Do It: One player tosses the ball; the partner passes it back. Without catching, the first player sets the ball back, and the partner hits it (or volleys it) back. The goal is to keep the rally alive as long as possible.
Coaching Cues:
- “Work on form, not power.”
- Keep the ball close so you need no more than one step in any direction.
- Call “mine” early to build communication.
Progression: Start with a catch-and-toss version for total beginners. Move to continuous pepper. Then add a third player for “Three-Person Pepper” (see Drill #4).
4. Three-Person Pepper (Movement After the Pass)
Skill Focus: Footwork, passing, and setting while moving.
Setup: Groups of three with one ball. One passer, two tossers standing about 10 feet apart in a triangle.
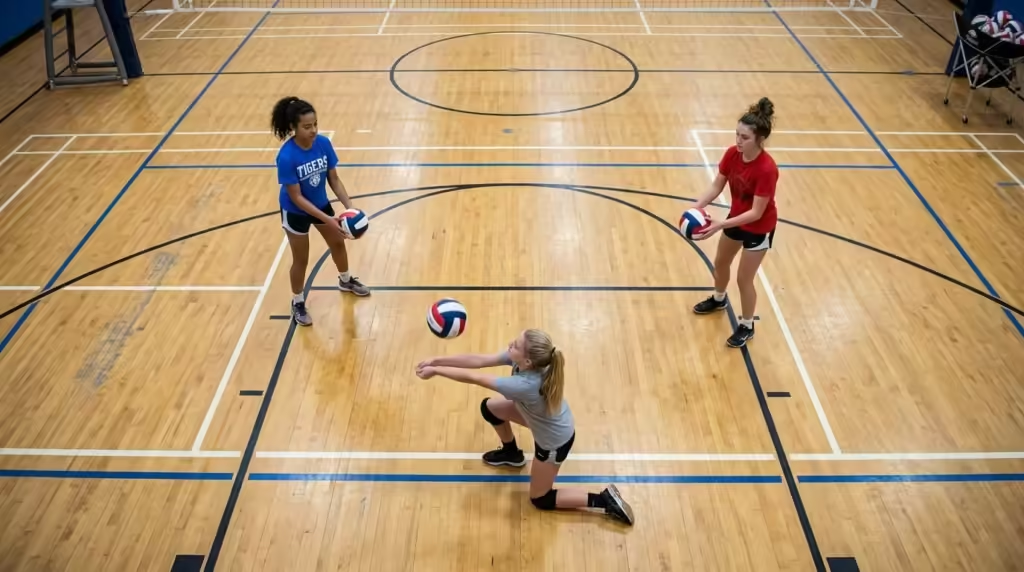
How to Do It: Tosser 1 tosses to the passer. The passer forearm-passes back to Tosser 1, then shuffles to face Tosser 2. Tosser 2 tosses, and the passer passes back. Continue for 2 minutes, then rotate roles.
Coaching Cues:
- “Shuffle after every pass so you face the next tosser”.
- “Stay low—don’t stand up between contacts.”
Progression: Replace the toss with a down-ball (a controlled hit) so the passer must adjust. Or add a setter so the drill becomes pass-set-hit.
5. Dead Fish Serving Game (Serve Accuracy Under Pressure)
Skill Focus: Serving in and court awareness.
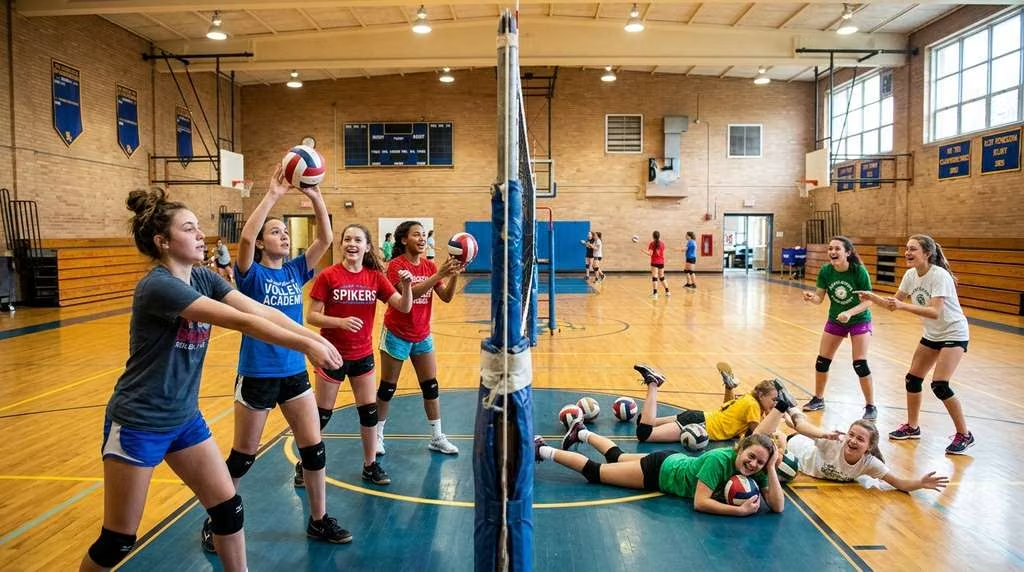
Setup: Divide players into two teams at opposite service lines.
How to Do It: Each player serves. If the serve goes in, the player rejoins the line. If it misses, the player runs to the other side and lies down inside the court (a “dead fish”). They are “saved” only when a teammate hits them with a ball. The team with the fewest players on the floor at the end wins.
Coaching Cues:
- “Toss, tempo, then torque”.
- Aim for a specific zone, not just “over the net.”
- Keep a repeatable pre-serve routine.
Progression: Move servers back to the end line. Or require serves to land in a designated half-court zone to count as “in.”
6. Wall Setting (Hand Contact and Footwork)
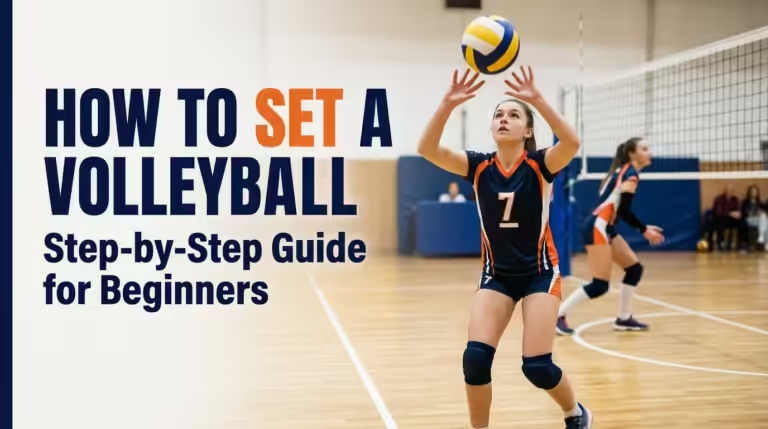
Skill Focus: Setting hand contact and ball control.
Setup: Each player with a ball, standing 6 feet from a wall.
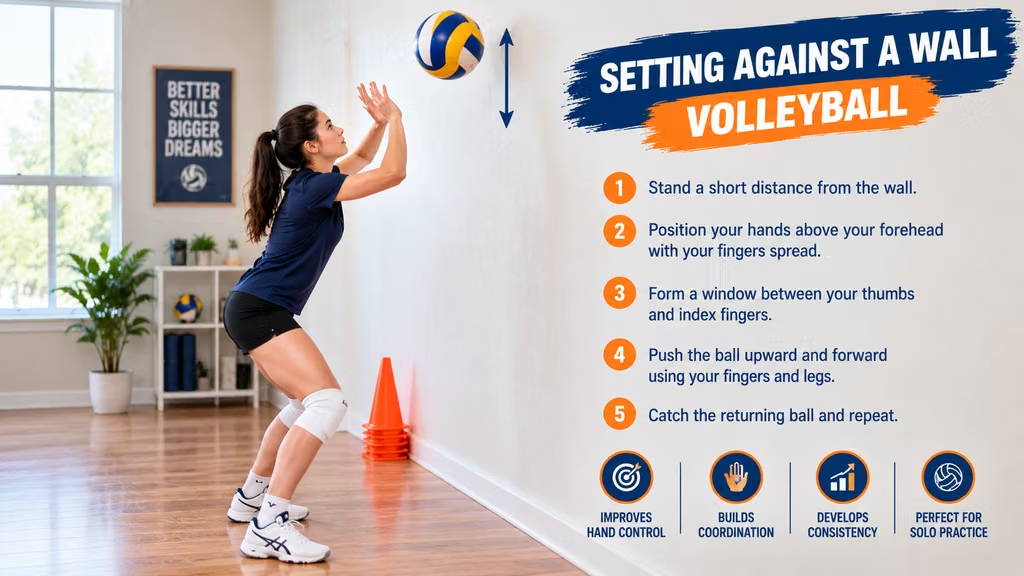
How to Do It: Self-toss the ball and set it into the wall about 4 feet up. Catch the rebound and repeat. Focus on “shape-set-return-to-shape”.
Coaching Cues:
- “Shape your hands like a triangle and let the ball come to you.”
- “Face the target—turn your hips and shoulders.”
- “Push through your legs, not just your arms.”
Progression: Set continuously against the wall without catching. Then set to a partner over the net using a self-toss.
7. Self-Toss Setting to a Target
Skill Focus: Setting accuracy and turning to the target.
Setup: Solo or pairs. Player stands near the net with a ball.
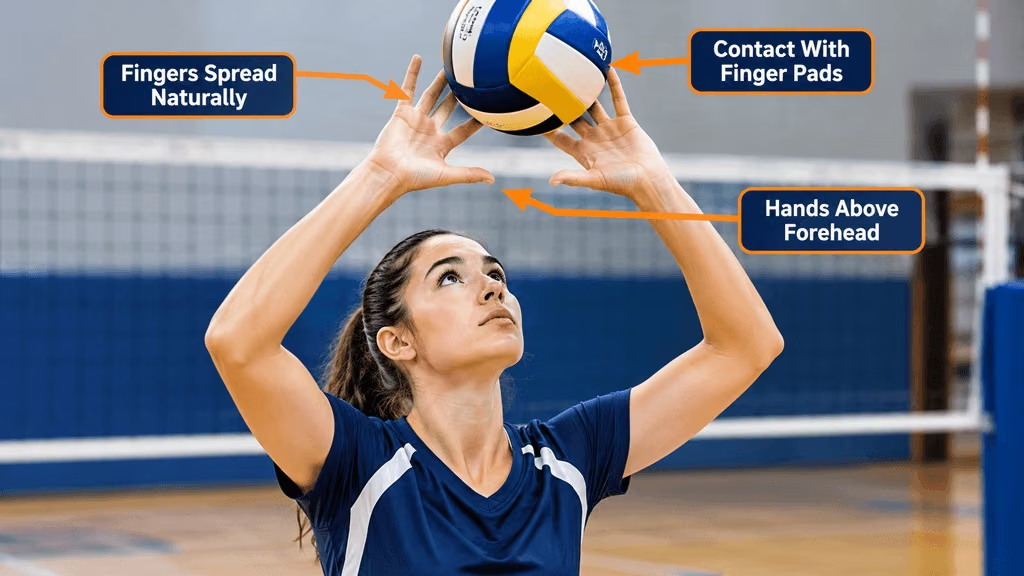
How to Do It: Toss the ball up, turn your body to face the target (a partner or a spot on the wall), and set the ball to that target. Catch or repeat.
Coaching Cues:
- “Toss, turn, set.”
- “Face where you are setting, not where the ball is coming from.”
- “High hands, soft fingers.”
Progression: Set over the net to a partner standing 3 meters away. Then make it continuous: partner sets back without catching.
8. Underhand Serving Progression (Repeatable Routine)
Skill Focus: Serving in and building a consistent routine.
Setup: Players behind the end line or at a 10-foot line for shorter serves.
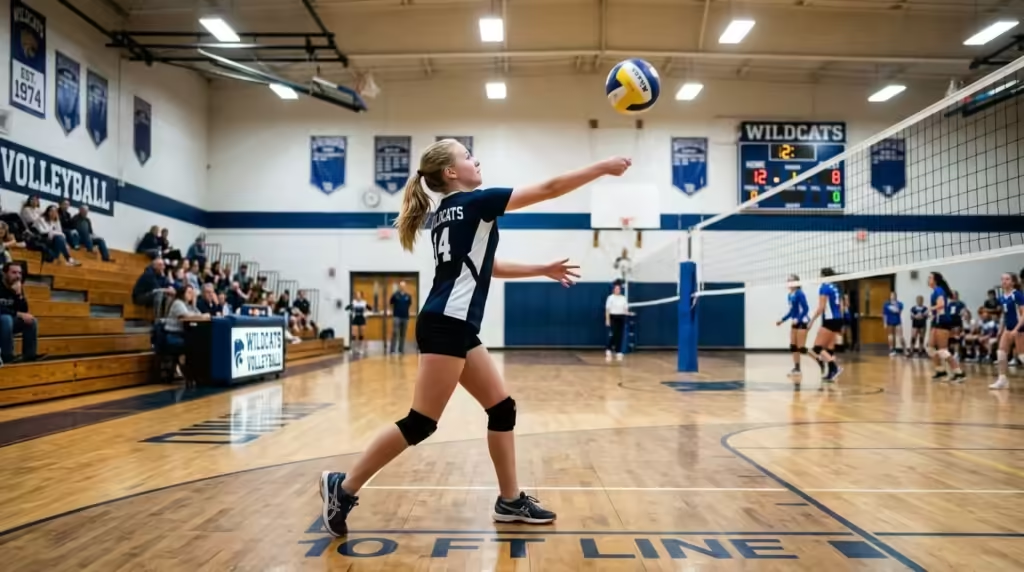
How to Do It: Players serve 5–10 balls, focusing on stance, ball contact, and follow-through. Start at the 10-foot line and move back after 3 successful serves.
Coaching Cues:
- “Step with the opposite foot (left foot forward if right-handed)”.
- “Contact the ball with a firm wrist and finish with your arm to the target”.
- “Same toss, same step, every time.”
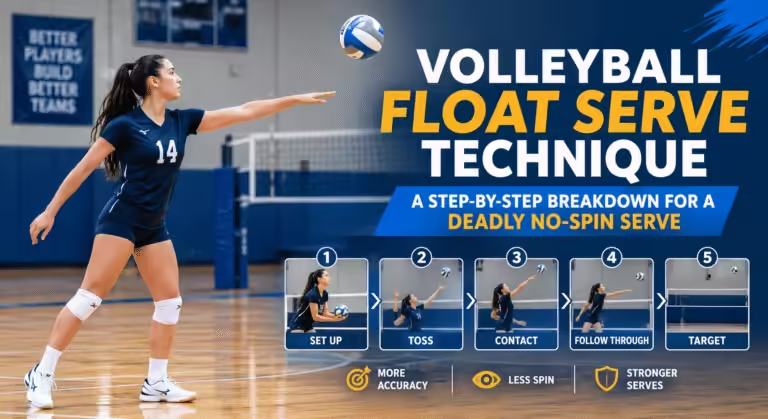
Once beginners can consistently serve in from the 10-foot line, the next step is introducing a float serve technique to add movement and pressure. For a full step-by-step breakdown, see our guide to the volleyball float serve technique.
Progression: Serve to zones (deep corners, short middle). Add a penalty/reward game like Dead Fish (Drill #5).
9. Queen of the Court (Small-Sided Competition)
Skill Focus: Applying skills in a game-like situation with pressure.
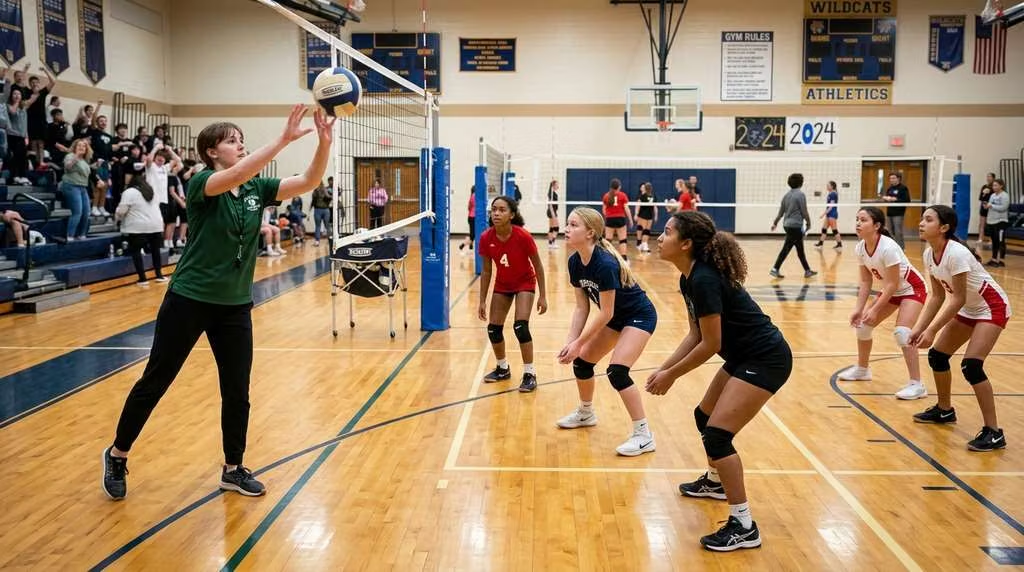
Setup: Half-court, 3v3 or 4v4. One side is the “Queens” and the other side is the “Challengers.”
How to Do It: The coach tosses a free ball to the Challengers. They must get three contacts (pass-set-hit) and send the ball over. If they win the rally, they become the new Queens. If the Queens win, the Challengers rotate off and a new team enters.
Coaching Cues:
- “Call the ball early—‘mine!’”
- “Get three contacts whenever possible”.
- “Transition to base after every contact.”
Progression: Require a specific type of serve to start the rally. Or give the Queens a one-point handicap so Challengers can succeed more often.
USA Volleyball recommends limiting catch-and-throw activities that inhibit learning to rebound the ball, and instead using balloons, beach balls, or 12U balls on smaller courts for the youngest beginners. This link reinforces why the drills in your post prioritize live-ball contacts and small-sided games, adding official governing-body credibility to your coaching approach.
10. Towel Dive Progression (Safe Floor Pursuit)
Skill Focus: Confidence in going to the floor for low balls.
Setup: Each player needs a towel. Open gym floor or mat space.
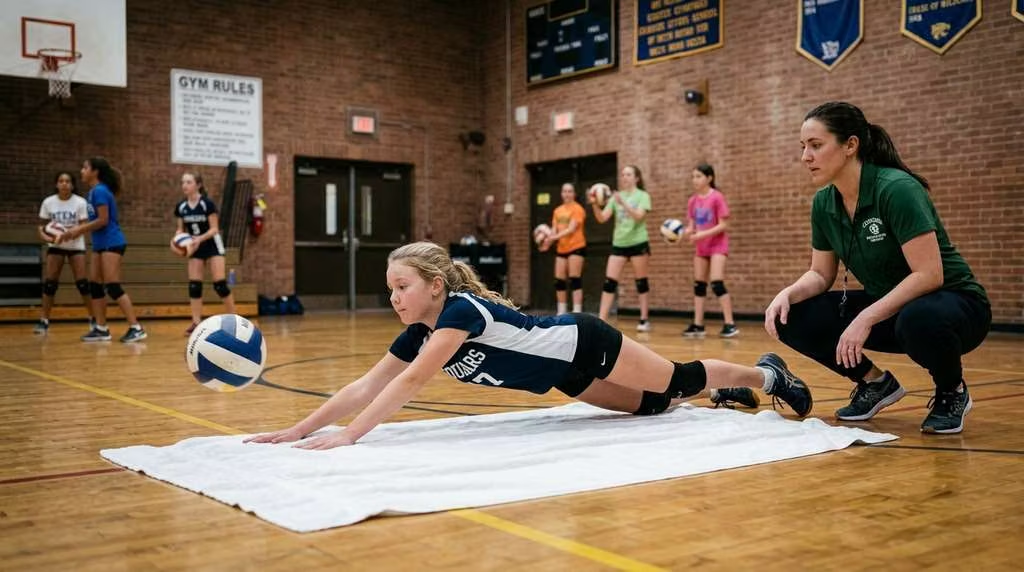
How to Do It: Players lie on their stomach on a towel. On command, they push up and sprint a few steps, then dive onto the towel (or a mat). This teaches the feeling of extending and landing safely without fear of hitting the floor.
Coaching Cues:
- “Reach, don’t brace.”
- “Land on your forearms and chest, not your knees.”
- “Play through the ball—don’t pull back.”
Progression: Move from towel races to a coach-tossed low ball. The player dives to pop the ball up to a target.
Quick 90-Minute Practice Plan Using These Drills
| Time | Segment | Drill |
|---|---|---|
| 0–10 min | Warm-up with ball | Wall Passing (#1) + Partner Toss-and-Pass (#2) |
| 10–30 min | Priority Skill | Underhand Serving Progression (#8) + Dead Fish (#5) |
| 30–50 min | Second Skill | Wall Setting (#6) + Self-Toss Setting (#7) |
| 50–80 min | Game That Forces the Skill | Queen of the Court (#9) with a focus on three contacts |
| 80–90 min | Cool-down & Reset | Towel Dive Progression (#10) or light stretching |
If you want to build these drills into a full week of training—including strength and recovery days—see our 7-day volleyball training schedule for a complete weekly plan you can adapt for beginners.
This template follows the “control → repeatability → movement → pressure” progression that makes these volleyball drills for beginners effective. Use it for your first four weeks of practice and adjust the time blocks as players improve.
After encouraging readers to run the 90-minute plan, you can add that for a deeper library of youth-focused progressions—including setting hand contact, passing progressions, and ball control for beginners—coaches can explore the JVA’s dedicated beginner archives.
FAQ: Beginner Volleyball Drills
What should I prioritize first: passing or serving?
If your group can’t start rallies reliably, prioritize serving early. If rallies start but end immediately on first contact, prioritize passing.
Should beginners hand-set right away?
If they can do it with reasonable consistency, yes. If not, start with a controlled bump-set so you can run three-contact volleyball sooner, then layer in hand-setting as control improves.
How do I run practice when half the team is brand new?
Use constraints that scale: give experienced players harder targets (serve zones, movement requirements) while beginners focus on basic control.
Final Word
The fastest way for beginners to improve is not more complex drills—it’s more purposeful reps of the fundamentals with clear cues and small progressions. Start with the drills that keep rallies alive (serving, passing, setting), then layer in movement and competition. Bookmark this page, grab a ball, and run the 90-minute plan this week. Your players will feel the difference in their first contact within a single practice.